Create & Print A Single Label Or A Page Of The Same Label in Word 2016, 2013
Create and print a single label or a page of the same label
If you want to make return address labels, find more information in Create return address labels.
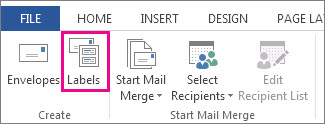
- Click Mailings > Labels.

- Click Options.
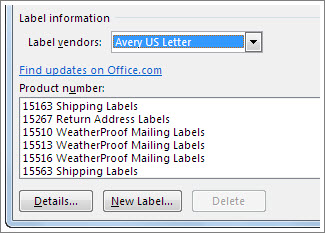
- In the Label vendors list, click the company that made your labels, or the company and page size. For example, click Avery US Letter.

- Under Product number, click the number that matches the one on your labels package.If you don’t see your product number, you can set up a custom label. Scroll down for those instructions.
Note: If you’re using a continuous-feed printer, you’ll have a different list of product numbers. Be sure to click Continuous-feed printers under Printer information, so you’ll see that list.
- Click OK.
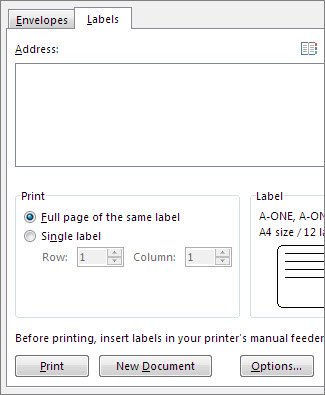
- Type an address or other information in the Address box.
 To create a label for an address in an electronic address book installed on your computer, click the Insert Address button.
-
To change the formatting, select the text, right click, and then click Font or Paragraph on the shortcut menu. Make your changes and then click OK.
- Under Print, click Full page of the same label or click Single label.
If you’re printing one label, enter its location in the Row and Column boxes. For example, if you have a 3 by 10 grid of labels on your sheet, but only the last label’s left, type 10 in the Row box and 3 in the column box.
- Before you print, place your label sheets in the printer.To print the labels without saving your setup, click Print.To preview, or to save the labels in a document you can use again, click New Document. Save the document, or print the labels by clicking File > Print and clicking the Print button.
Recent Posts


